How Stable Diffusion works
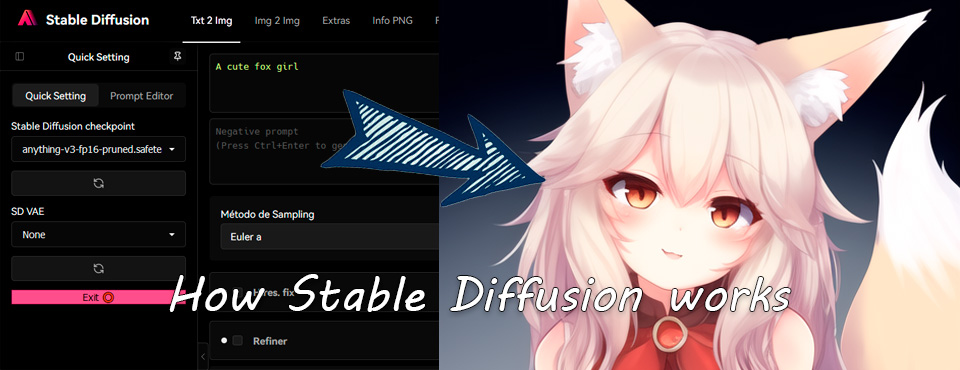
Before diving into Stable Diffusion, it’s essential to understand how this AI generates images since that will help us comprehend each parameter and tool better.
This explanation is basic, summarized and focused on the common user, there is more detailed and specific information than this, my objective here is only to offer the basic and simple knowledge to start publishing different tutorials about this artificial intelligence.
Stable Diffusion works by training diffusion models that break down images into noise and store details related to the prompt. Afterward, it tries to reconstruct the image using only the noise and the prompt to obtain a result similar to the original image.
Clouds of noise and footsteps
When our image begins to be generated, it starts with a random image where there is only noise and through the steps it eliminates that noise in order to adapt to our prompt and our parameters.
This is an example of the steps you take to compose an image with the prompt “A cute fox girl”:
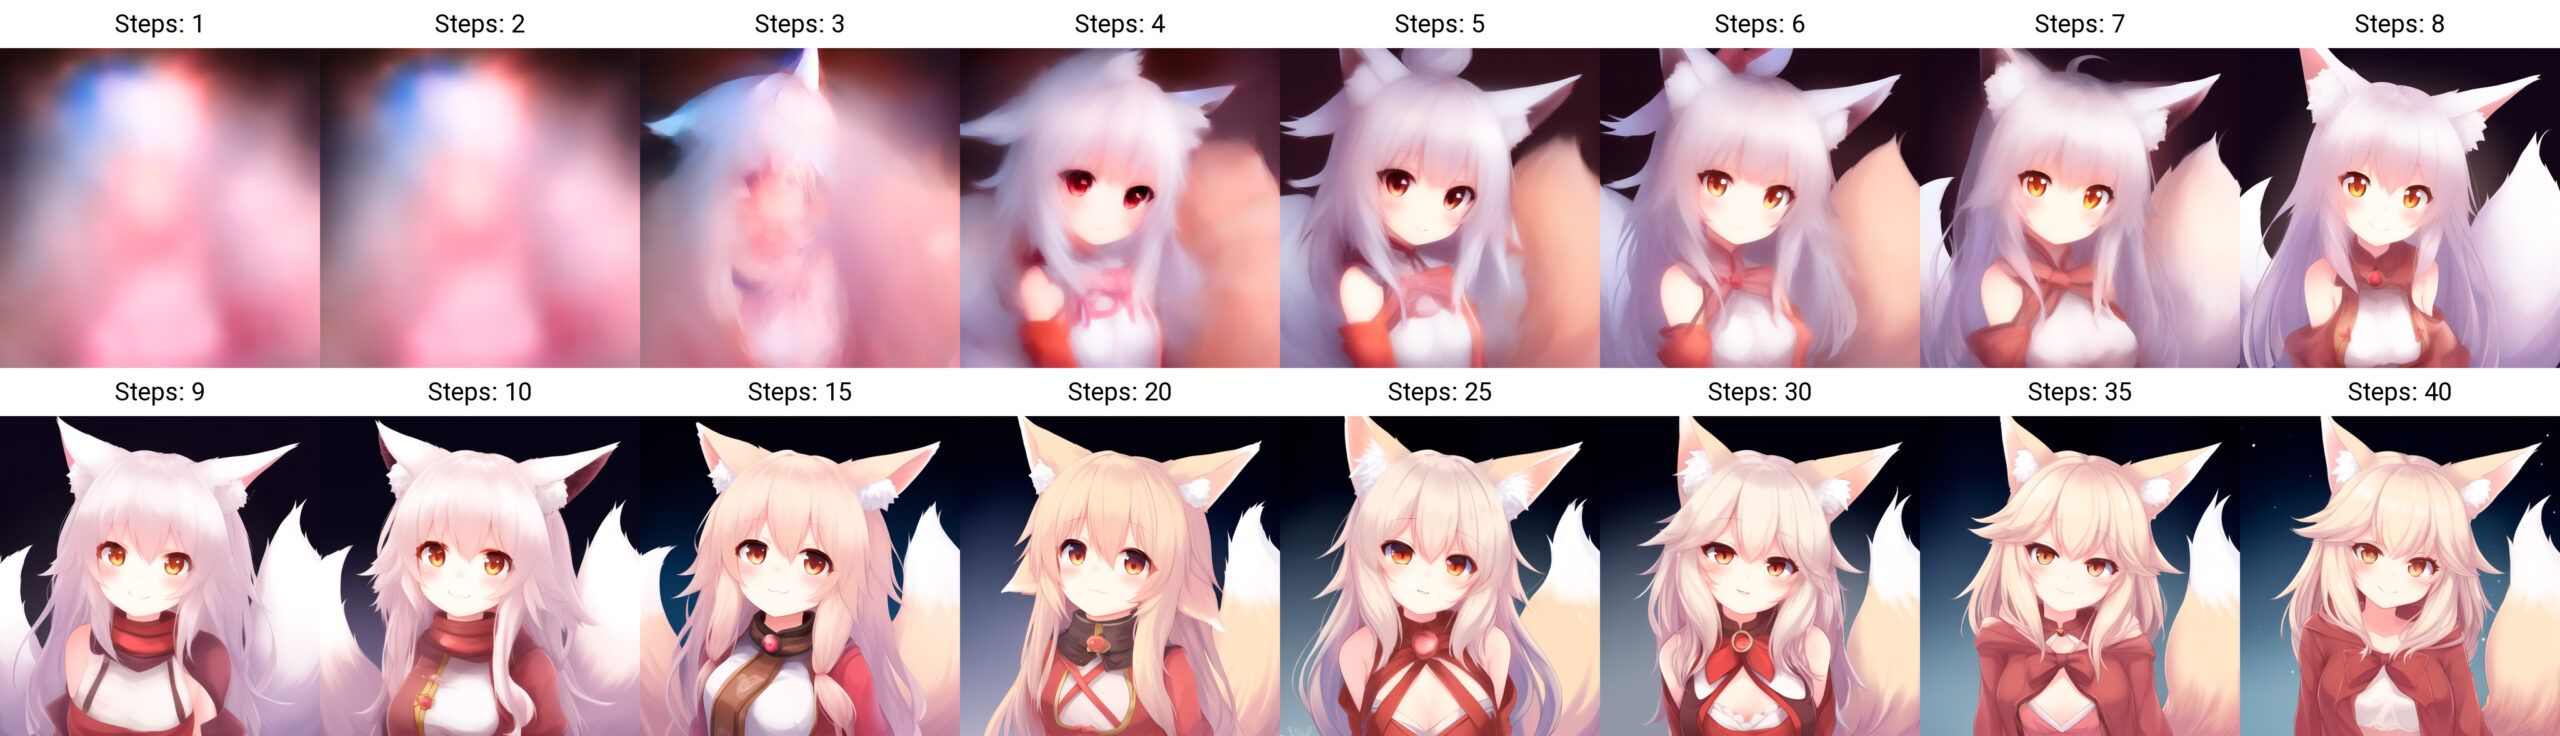
As seen in the previous image, the image begins with a very diffuse noise and little by little as the number of steps increases it becomes more noticeable and more details are added.
The number of steps depends on the type of image (an anime-style image needs fewer steps than a photo-realistic one), also on the number of details and elements that make it up, so it must be taken into account.
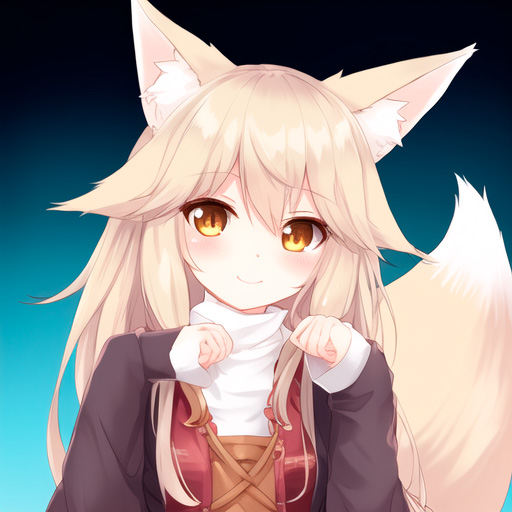
Performing more steps than necessary will begin to have negative effects on our image, since trying to eliminate noise beyond what is necessary will only begin to produce errors and deformations in it, such as this image generated at 150 steps and the result is Quite positive compared to what I expected, but we can still denote a significant loss of quality in the image, if we compare it, for example, with the 30-stop image.
It is important to know that the entire image will be composed in each step, transforming this noise, since all the parameters and tools that we use will refer to the number of steps and will act on the noise in question and not on the finished image.
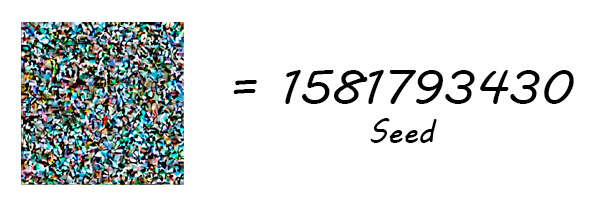
Initial noise and seed
The noise generated in the first step is completely random and will not be affected by our prompt or by any parameter except the seed, the seed is nothing more than that, the hash that takes the initial noise before starting to compose our image.
This is why even if we provide the same prompt and the same parameters, it will always generate a different image, unless we use the same seed that was used previously.
It is also important to mention that the seed is linked to the size of the image, if we modify it, it will no longer generate an exact image either, since when changing the size, the size of the noise cloud also varies and therefore the seed will not generate exactly the same pixels as in the previous size.
However, even if we modify the size, using the same seed can be useful, since although it will not generate the exact same image, it will set similar patterns and make it at least similar.
As an additional detail, there is a configuration parameter called “Clip Skip” that allows us to skip the first steps of noise.
For anime-type images, this parameter is usually set to 2 so that it avoids the first completely random layer and starts on a layer already affected by the prompt, however in realistic images it is left at 1 which will not prevent any noise passage and will begin over that first random layer.
Prompt, noise transformation process and CFG Scale
The prompt are the instructions that we provide to the AI to generate our image, in the case of the beginning of the entry, I specified “A cute fox girl” but you really have to be more specific to achieve better results, for now I just want to present the concept, I will publish an entry dedicated just to the prompt later.
As we saw previously, without using any tool, this noise will be transformed mainly in parallel in each step by 2 factors:
- The AI, without taking into account our prompt, will try to shape the noise intuitively to form something that it considers coherent.
- On the other hand, it will generate another layer of noise that will try to shape it so that it approximates our prompt.
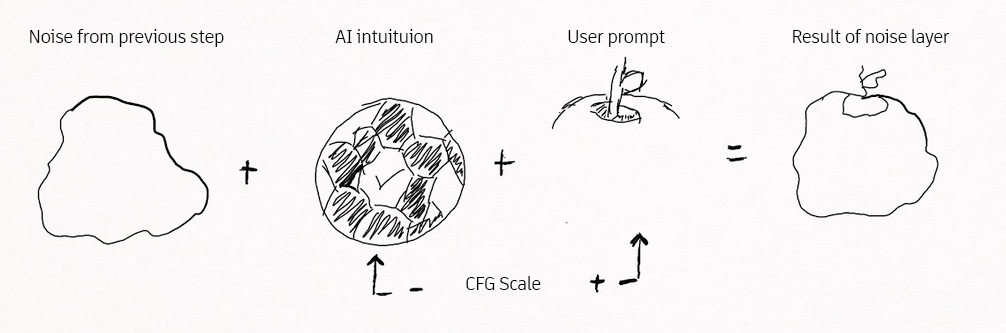
Once you have generated the 2 versions of the noise layer, you will merge them to generate the layer resulting from the step.
In the previous example, the previous step has left us with a noise of something that appears to be a circular object, the AI intuitively believes that it is a ball and rounds it even more.
On the part of the prompt, it specifies that it is an apple, so the model knows that apples end with a top groove and the stem.
By combining both layers of noise, the result is a new layer of noise approximated to a 3D sphere thanks to the ball, but with the indentation and stem of an apple, this combination is necessary because the models would be enormous when it comes to store the complete information of each object.
But he knows that both balls and apples share the common trait of being rounded, so by just storing the differences in the top, he is able to distinguish one object from another without storing much information.
The CFG Scale parameter is what indicates the importance of each one, the higher the value, the greater importance you will give to the one generated through our prompt and the less importance you will give to the one that she has generated under her intuition.
But like the number of steps, exaggerating with this value will not make our image take more details from our prompt, we can vary it slightly but it is important to find a balance and let the AI take its role in the process as well.
With this I think we can conclude the introduction to the basic concepts of Stable Diffusion and therefore start with the tutorials in the following posts.
You can follow the Stable Diffusion tag to follow all related posts, in addition, you can also find more posts about other AIs in the Artificial Intelligence category.